Ain’t got enough brains to tan his own hide.
Ever hear that saying? Well, it is becoming a little dated. Not too many people tan hides now-a-days.
But prior to the industrial age, clothing was not cheap. If one had access to fibers, plant or animal, one could spend days/weeks manually spinning enough yarn from which to weave a piece of cloth. Only then could one actually make clothing.
So for many, the only real options were animal skins (or running around naked).
Even so, turning animal skins into wearable leather (with or without the hair) was an arduous process, taking several days. (But still quicker than spinning and weaving).
The rough steps:
1. Kill something (hopefully with enough brains to tan its own hide…which, in the animal kingdom, is true…not sure about some humans).
2. Scrape the hide of fat and remaining meat on the inside. For the outer part of the hie, one has to make a decision: keep or remove the hair. For a sleeping hide or winter cloak, it would be best to keep the hair on. This does make the process more difficult.
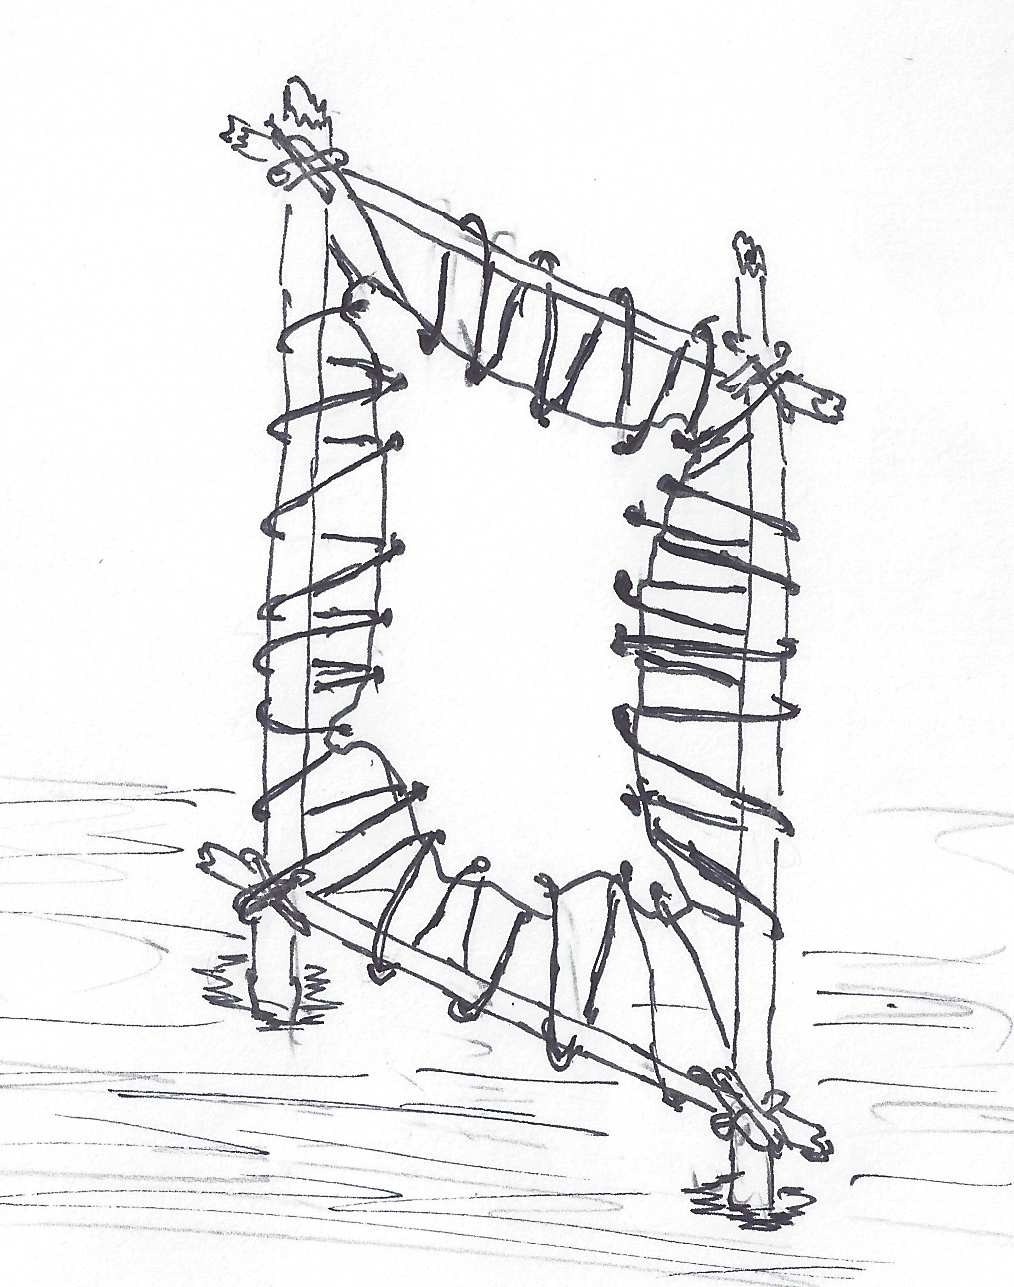
Scraping can be done with sharp-edged stones, antlers, bone, or metal (if available). Two methods of supporting the hide: stake out on the ground. Or tying up on a frame (if wood was available).
Stretching frame for tanning hides
Removal of hair could be made easier if soaked in mildly acidic (urine) or alkaline (wood ash) solutions. In any case, it would be a lot of work and one had to be careful not to cut the hide.
3. Brain treatment. The brains are boiled and then mashed up and vigorously rubbed into the hide (both sides if hair removed, otherwise only the non-hair side).
4. Stretching. This softens the hide. This actually starts while the hide is stretched on the frame (less so is staked on the ground). The pressure while scraping starts this process.
Even while on the stretcher (after de-hairing and brain rubbing), one can use a thick blunt (and smooth!) stick to push against the hide. This does some stretching and for the hide with hair still attached, this may be sufficient.
For a soft hide, one can repeatedly pull the brain-soaked hide back and forth over a smooth, de-barked tree branch or log, turning the hide to stretch all parts.
5. Smoking. To keep the hike soft even when wet, one can smoke (not cook!) the hike. One common method is to tie the hide into a cone or tube and suspend over wood-chip covered embers. One would have to reverse the hide to smoke both sides. The smokey residue is the desired result. Obviously, one would need to monitor the smokey embers to avoid a flare up of flames and the loss of ones several days work.
The chemistry escapes me. For those with knowledge of what the brains (with their oils) does to the hide (made up of collagen, a fibrous protein), please comment with some chemistry!
Some references:
Basic brain-tanning:
http://amohkali.com/files/tancourse.pdf
http://www.native-art-in-canada.com/tanninghides.html
Tanning chemistry:
http://www.conservation-wiki.com/wiki/Books_Section_4_-_Material_-_Chapter_1._Animal_Skin/Leather
Industrial tanning chemistry:
http://nzic.org.nz/ChemProcesses/animal/5C.pdf